Capture Organizations
The various functions are added via Organizations. To do so, make sure you are in Develop Mode via the switch ![]() in the Application bar (right behind your Username).
in the Application bar (right behind your Username).
Create a new Organization from the Navigation menu:
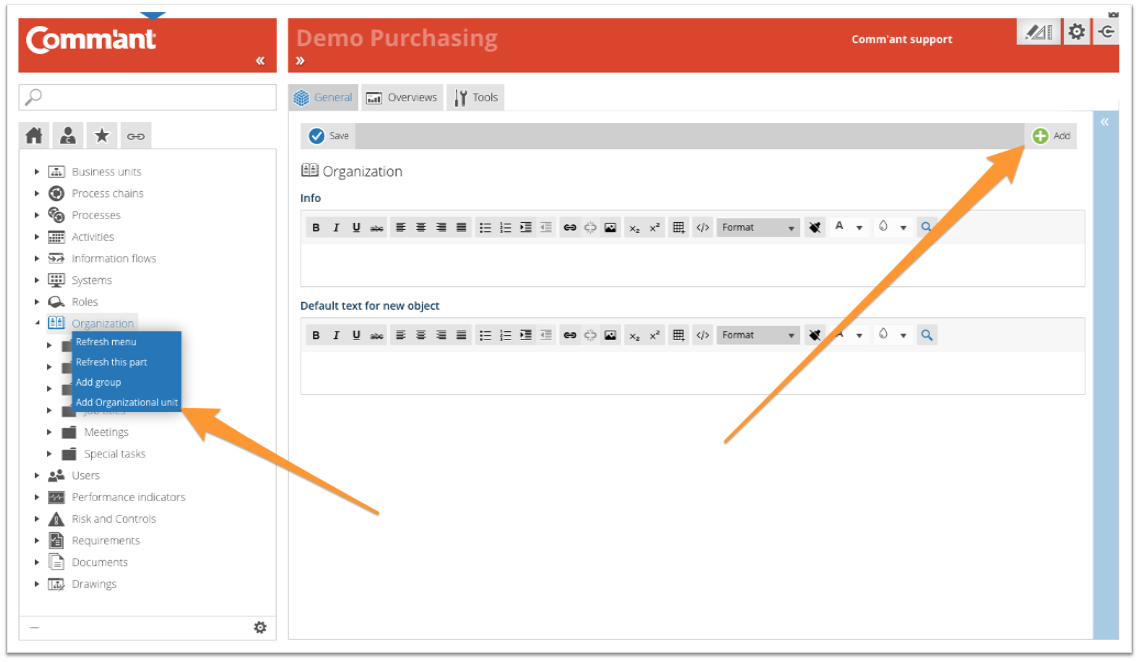
Step 1
Select Organizations in the Navigation menu, right-click, and select “Add Organization” or click “Add” in the top right corner of the Main screen.
Create the Organizations with at least the name by entering it in the “Name organization” field. The name can be changed later on. Give the Organizations a clear and unique name.
The Organization object is used to identify and specify a function or position, a meeting, a team, a special task, an external party.
Examples:
- Sales manager
- Sales meeting
- Management Team
- Internal auditor
- Budget holder
- Customer
- Supplier
Step 2
Add more information and save when you are done using the Save button at the top left:
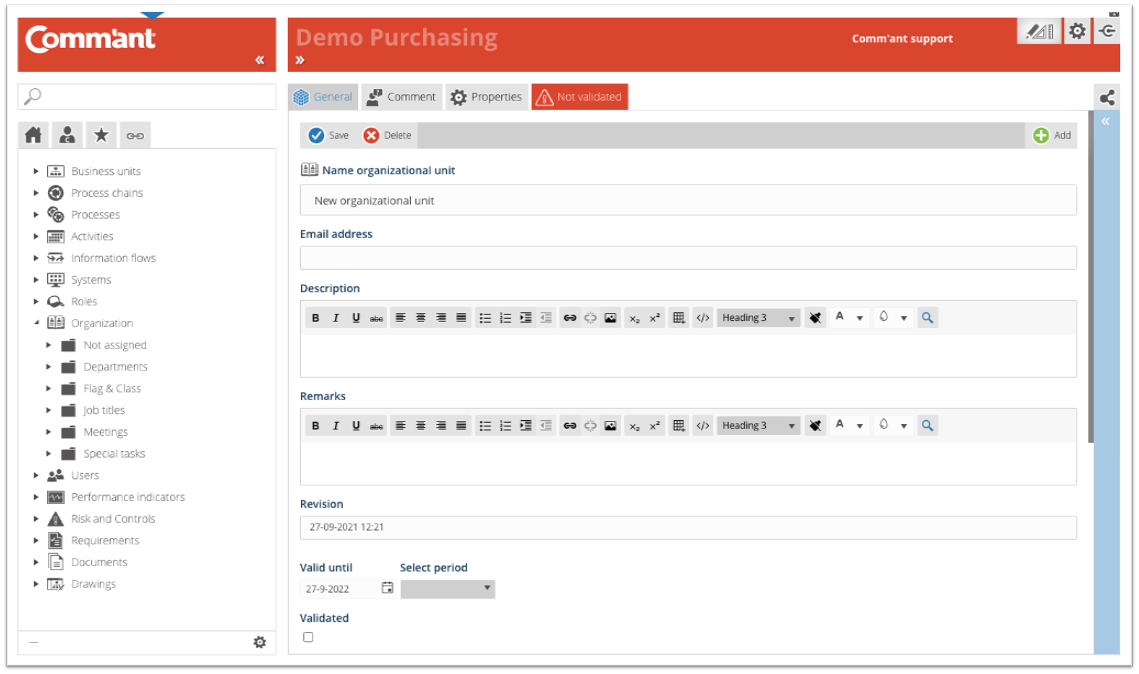
- Add the email address. Note: It is more common to use email addresses associated with the User in the system and then connect these Users with the Organization.
- Fill in the Description Describe the content. If you want to go into details, decide whether these details should be clarified here or at a lower level. Extended descriptions can also be added as a document. You can refer to the document in the Description.
- Add Remarks. Write specific comments here, especially during development and changes to the system. When you use special characters, such as @@ in combination with your initials and followed by a comment, you can easily find your comments with the search function, follow up and complete the work.
- With Valid until you indicate when the content of the object must be reviewed. Comm’ant automatically assigns the current date plus one year to this field. This date can be changed if the period of validity ends on another date. Passing the date will not change the display. An overview of the objects whose date is about to expire or have expired can easily be created via a report.
- The Validated checkbox ensures that the newly created object is validated. If this box is not checked, the object will keep the encoding “Not validated” in the system. The advantage of this is that you can make an extra check on your recent additions in Comm’ant. You can generate an overview based on the status “Not validated” to show all changes and then go through them again, reviewing them for consistency and correctness before validating them. Validate the object by ticking the checkbox.
- The Revision field automatically shows the save date and time.
Step 3
After saving, you have the option to complete the Organization with connections to other objects: Groups, Users, Roles, and Documents/Links.

These can be existing or new objects. Existing objects are displayed in the connect boxes. You can create new objects right here via the plus sign at the top edge of the connect box. It is possible to disconnect existing links using the red unlink icon.
- Connect the Roles and the Organization that are formalized. This is a special concept for linking Organizations together. It is common to link connections to the Role:
- Reports to: …
- Participates in meeting: …
- Replaces in case of absence: …
To see which User is associated with those functions, use the Links button at the top of the screen.
- When you connect Organizations to Documents, you add links to files or shortcuts. Select an existing document or create a new one.
- It is common to create Groups for the departments, to which functions can be attached. Choose which Group or Groups the Function belongs to. When you connect a function to a Group, it will be displayed in the Navigation menu in the folder of this organizations group, or you will find it in the folder “Not classified”.
- From the (new) function, you can also directly connect the employees involved.
Note: The changes in the text and date fields are saved via the Save button, other changes such as creating or deleting links are immediately updated; it is not necessary to save them explicitly.
To change an Organization:
To be able to modify an Organization, make sure you are working in Develop Mode via the switch in the Application Bar.
When you select an Organization in the Navigation menu with the left mouse button, you immediately have the possibility to change it.
You can save the changes via the “Save” button.
To delete an Organization:
When you delete an Organization, all links it has to Processes will be deleted. The other objects it was connected to will remain in the system.
An Organization can be deleted by clicking on “Delete”. You will first receive a confirmation request before the Organizations disappears. Deleting is irreversible.
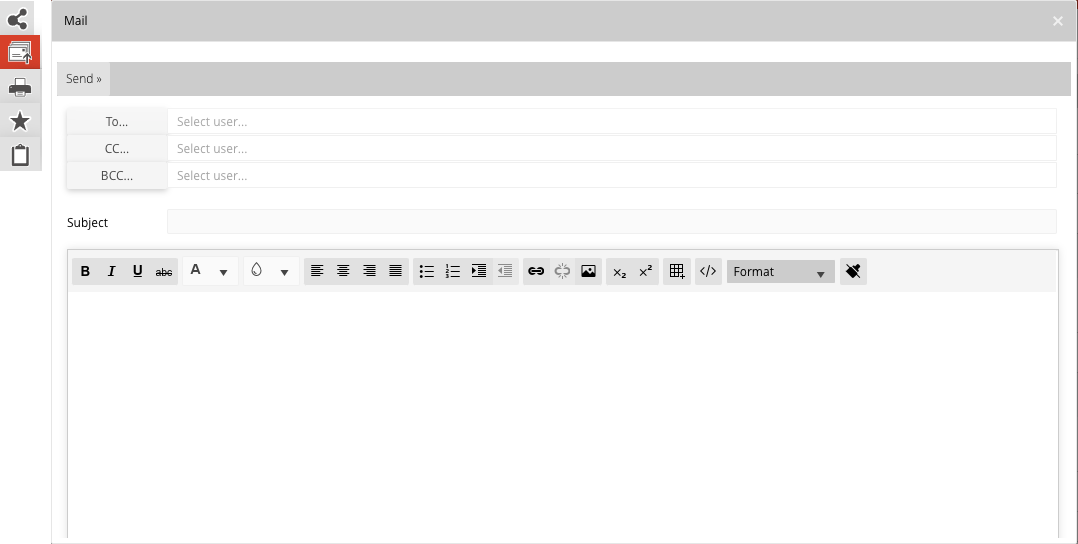
Inform the Users:
When you make significant changes, you may notify affected Users. You can do this efficiently via e-mail via the Mail button in the top right corner of “Share”.