Capture Documents / Links
The various Documents/Links are added via the Navigation menu.
The object type Documents/Links can consist of 2 elements:
- On the one hand, you can upload a document into the management system. This also allows you to search the contents of the document, provided the file format lends itself to this (Word, PDF, Excel, RTF, TXT). You can also upload images and videos.
- On the other hand, you can include a reference (link) to a file, for example on your local network or SharePoint. The content will then not be indexed. In this case, make sure that the description contains the relevant information so that the document can be found easily.
Combinations are also possible. For example, you can upload a template document in the management system and specify a link that points to the location where the processed document should be saved.
To create Documents/Links, make sure you are in Develop Mode via the switch ![]() in the Application bar (right behind your Username).
in the Application bar (right behind your Username).
Create Documents/Links:
Step 1:
Select Documents/Links in the Navigation menu, right-click and select “Add Documents/Links” or click “Add” in the top right corner of the Main screen.
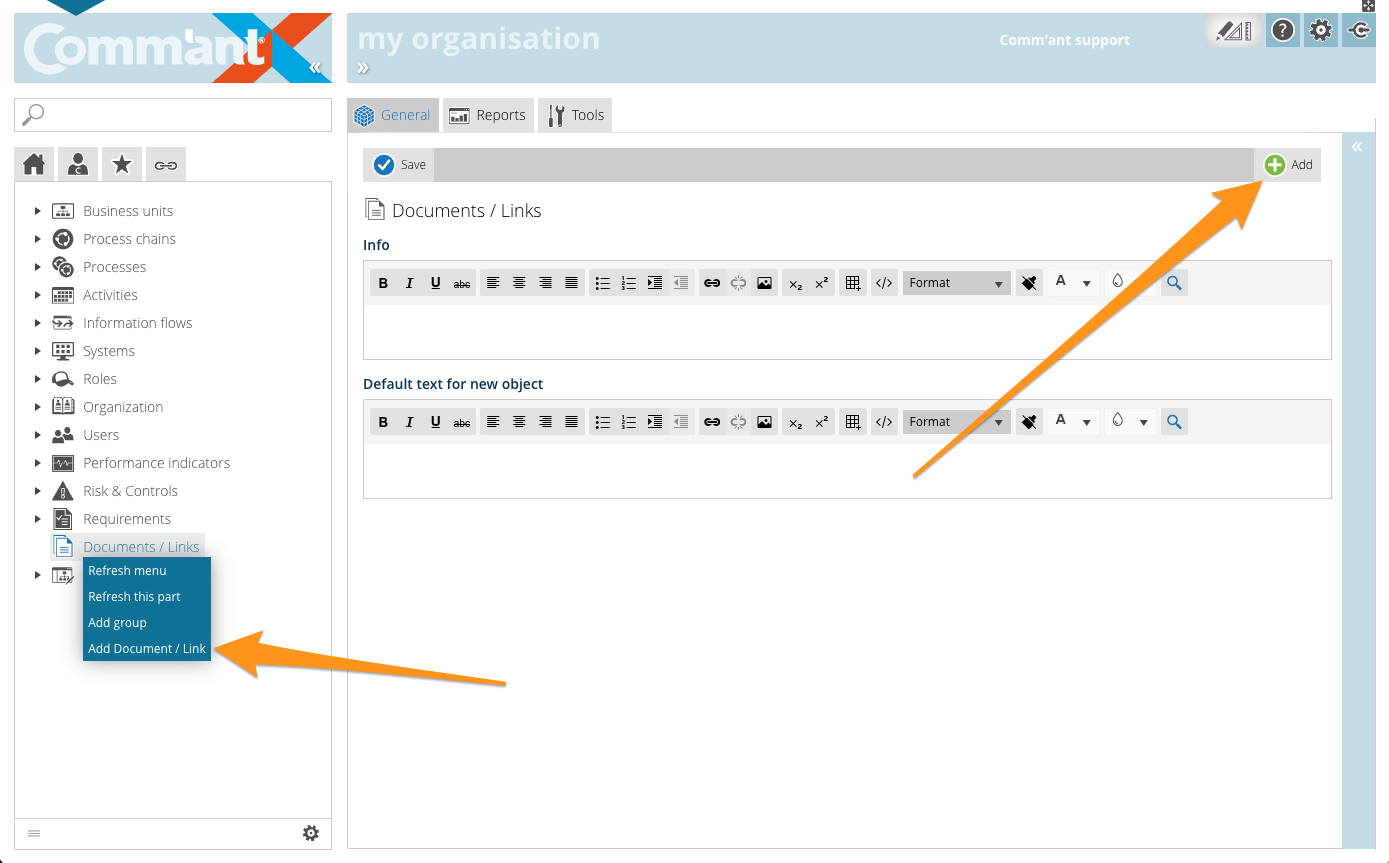
Create the Documents/Links with at least the name by entering it in the “name Document” field. The name can be changed later on.
Step 2:
Add more information and save when you are done using the Save button at the top left:
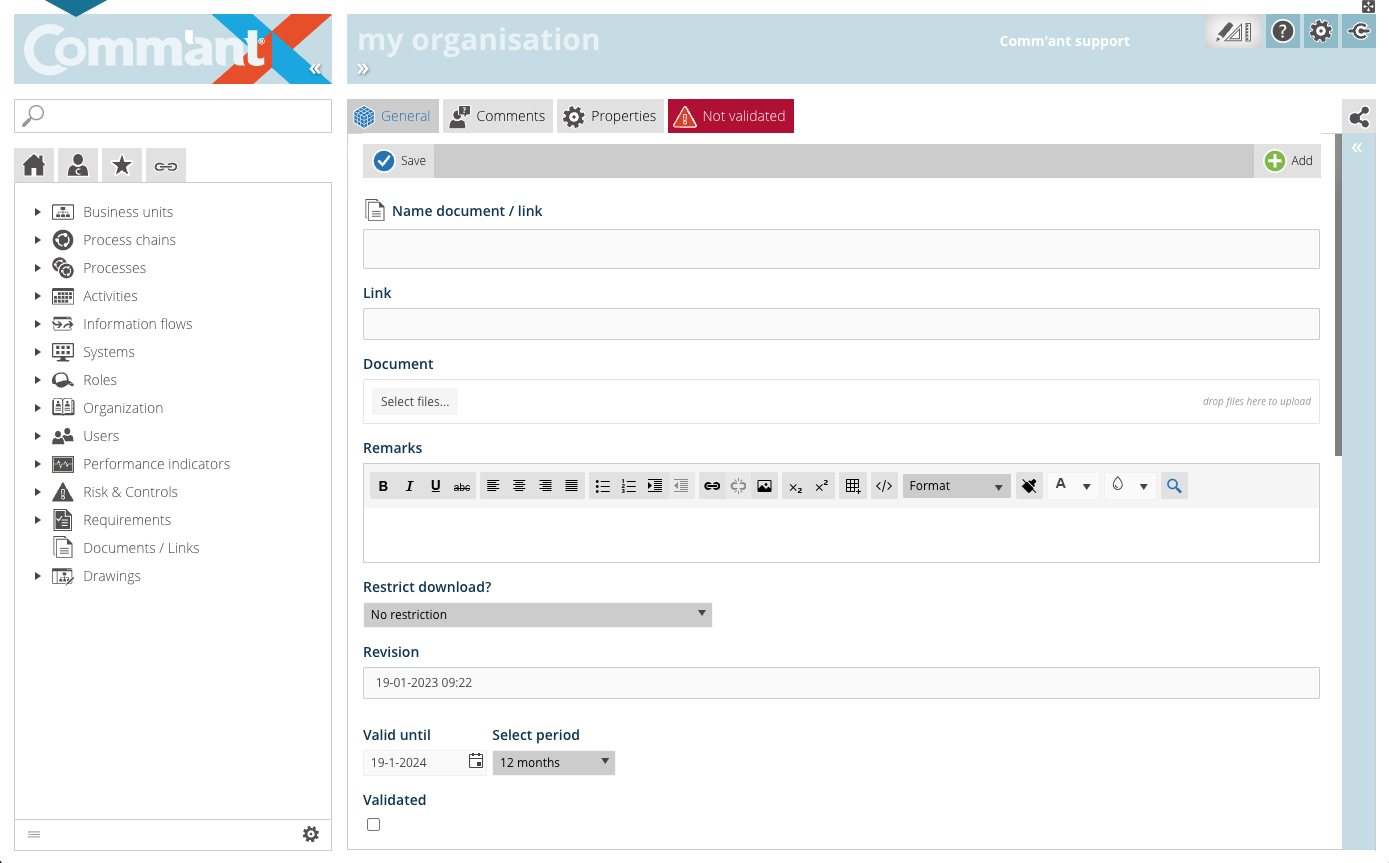
- Optionally insert a Link to the source file (on your local network, Sharepoint, or another website).
- Upload a Document, most file types are accepted. Depending on your configuration, the maximum file size may be limited to (for example) 8Mb.
Important: the name of the original file will be overwritten with the name you specified at Name Documents/Links. So if a user later downloads the document, it will have been given the name of the Documents/Links object. - Add Remarks. Write specific comments here, especially during development and changes to the system. When you use special characters, such as @@ in combination with your initials and followed by a comment, you can easily find your comments with the search function, follow up and complete the work.
- Restrict Download allows you to restrict access to the uploaded document. If you choose Only linked functions here, the document in question can only be downloaded by users whose function is linked to one of the roles with the document. We recommend using a specific role for this purpose: Document User. If this role does not yet exist in your system, you can create it. An extensive how-to related to Restrict Download can be found here.
- With Valid until you indicate when the content of the object must be reviewed. Comm’ant automatically assigns the current date plus one year to this field. This date can be changed if the period of validity ends on another date. Passing the date will not change the display. An overview of the objects whose date is about to expire or have expired can easily be created via a report.
- The Validated checkbox ensures that the newly created object is validated. If this box is not checked, the object will keep the encoding “Not validated” in the system. The advantage of this is that you can make an extra check on your recent additions in Comm’ant. You can generate an overview based on the status “Not validated” to show all changes and then go through them again, reviewing them for consistency and correctness before validating them. Validate the object by ticking the checkbox.
- The Revision field automatically shows the save date and time.
Step 3:
Next, you also have the option to complete the Documents/Links with links to other objects: Risk & Controls, Job titles, Roles, Systems, Performance indicators, Requirements, Business units and Groups.

These can be existing or new objects. Existing objects are displayed in the connect boxes. You can create new objects right here via the plus sign in the top edge of the connect box. It is possible to disconnect existing connections using the red unlink icon.
- You can connect the Documents/Links to Roles. The primary role is that of Document Administrator or a similar type of role name. The function listed with it has an associated person or persons. Click on the “Links” button at the top of the Navigation menu, to see who is performing the corresponding function with this role
- Choose which Group (or Groups) the Documents/Links belong to. Usually, the Groups are named by the type of objects and a connection to one Group is required. When you connect the Documents/Links to a Group, it will be displayed in the Navigation menu in the folder of this Group, or you will find the Documents/Links in the folder “Not classified”.
Note: The changes in the text and date fields are saved via the Save button, other changes such as creating or deleting links are immediately updated; it is not necessary to save them explicitly.
To edit Documents/Links:
When you upload a new file to an existing Document object, after a document has been previously uploaded, this becomes the new current version of the document. However, the old document is not deleted but is always available from the Properties tab in the Main screen:

To delete Documents/Links:
Documents/Links can be deleted by clicking on “Delete”. You will first receive a confirmation request before the Documents/Links disappears. Deleting is irreversible.
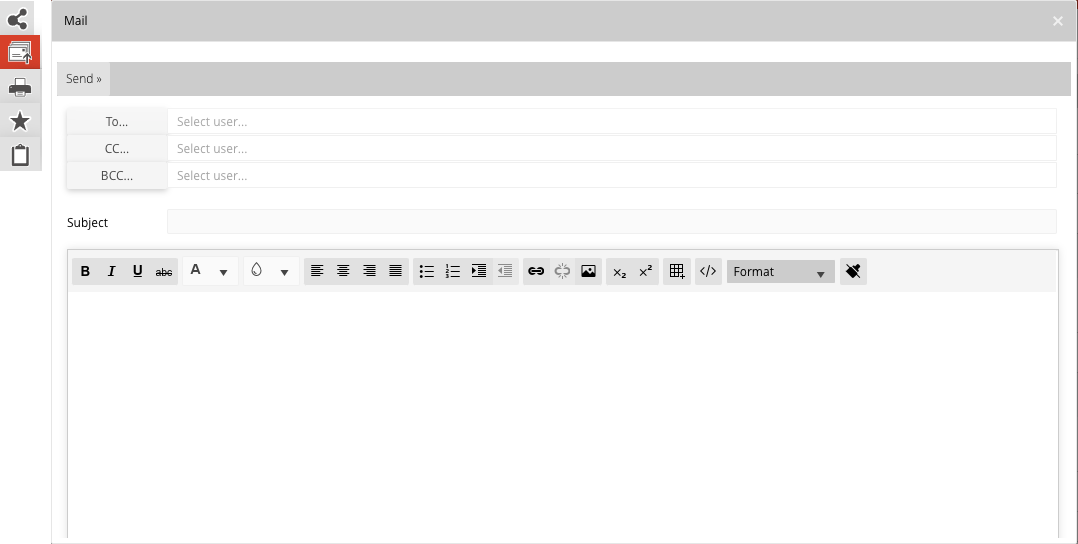
Inform the Users:
When you make significant changes, you may notify affected Users. You can do this efficiently via e-mail via the Mail button in the top right corner of “Share”.